
Get started in five minutes
Your first session with commonplot. Sign in, create a notebook, add articles or PDFs, ask AI for the key points, and save the result as a cited document.
This guide walks through the core commonplot loop: create a notebook, add sources, research with AI, and save the result as a document. The Get started checklist in the sidebar also guides you step by step.
1. Sign in
Sign in at commonplot.co with Google or an email verification code. You can browse Discover without an account, but saving and AI require one.
2. Create your first notebook
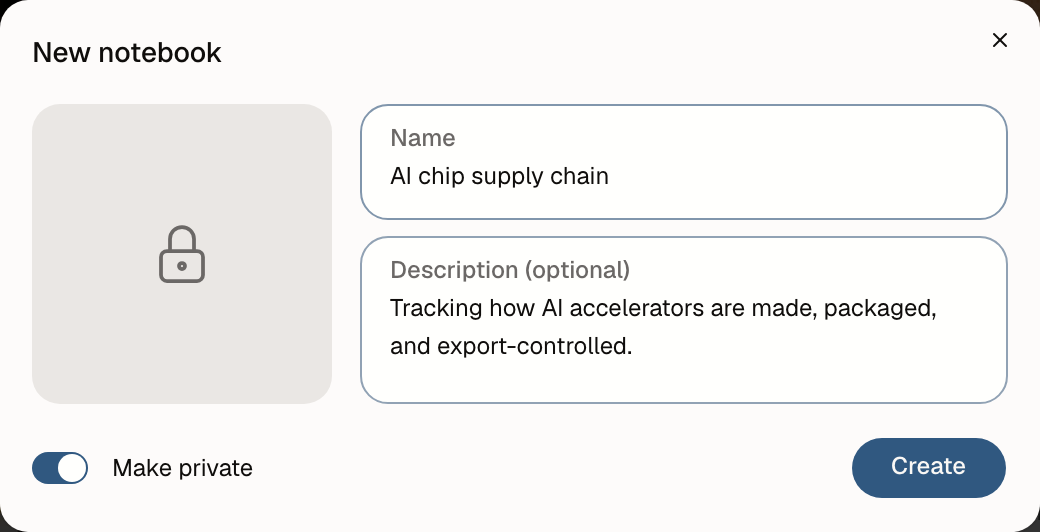
A notebook holds everything for one topic or research question. Choose Create → New notebook and name it after what you want to find out, for example:
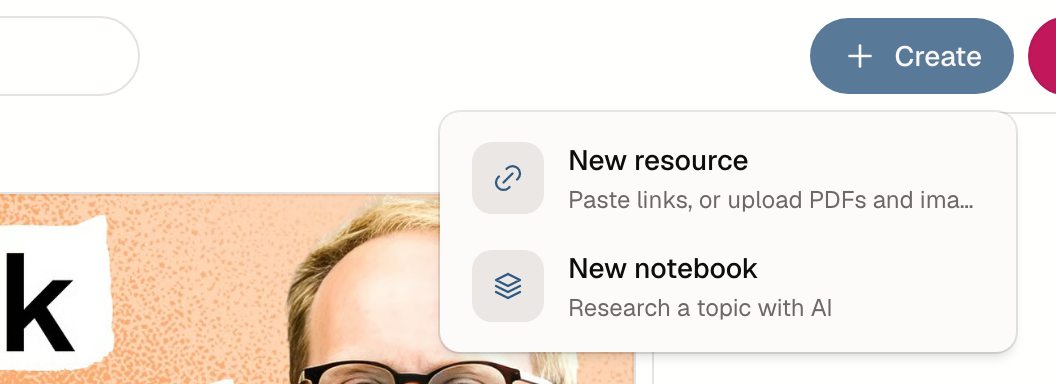
- AI chip supply chain
- The AI agent market in 2026
- Thesis: multi-agent coordination
A description is optional. New notebooks are private, so only you can see them; you can make one public later under Edit.
3. Add sources
In the notebook's resources rail, choose Add → Add resource, then either:
- Paste links: articles, YouTube, papers, and X posts all work, up to 20 at a time; or
- Upload PDF or image: up to 10 MB each, or drag files in.
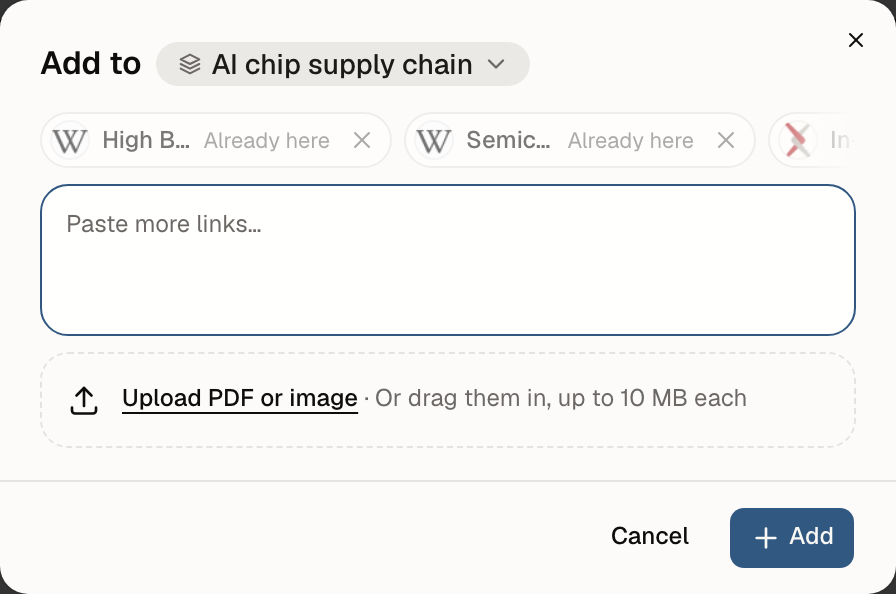
commonplot fetches and summarizes the content in the background, so you can close the dialog. Imports shows each item's status; Ready to read means it is done.
4. Ask AI about your sources
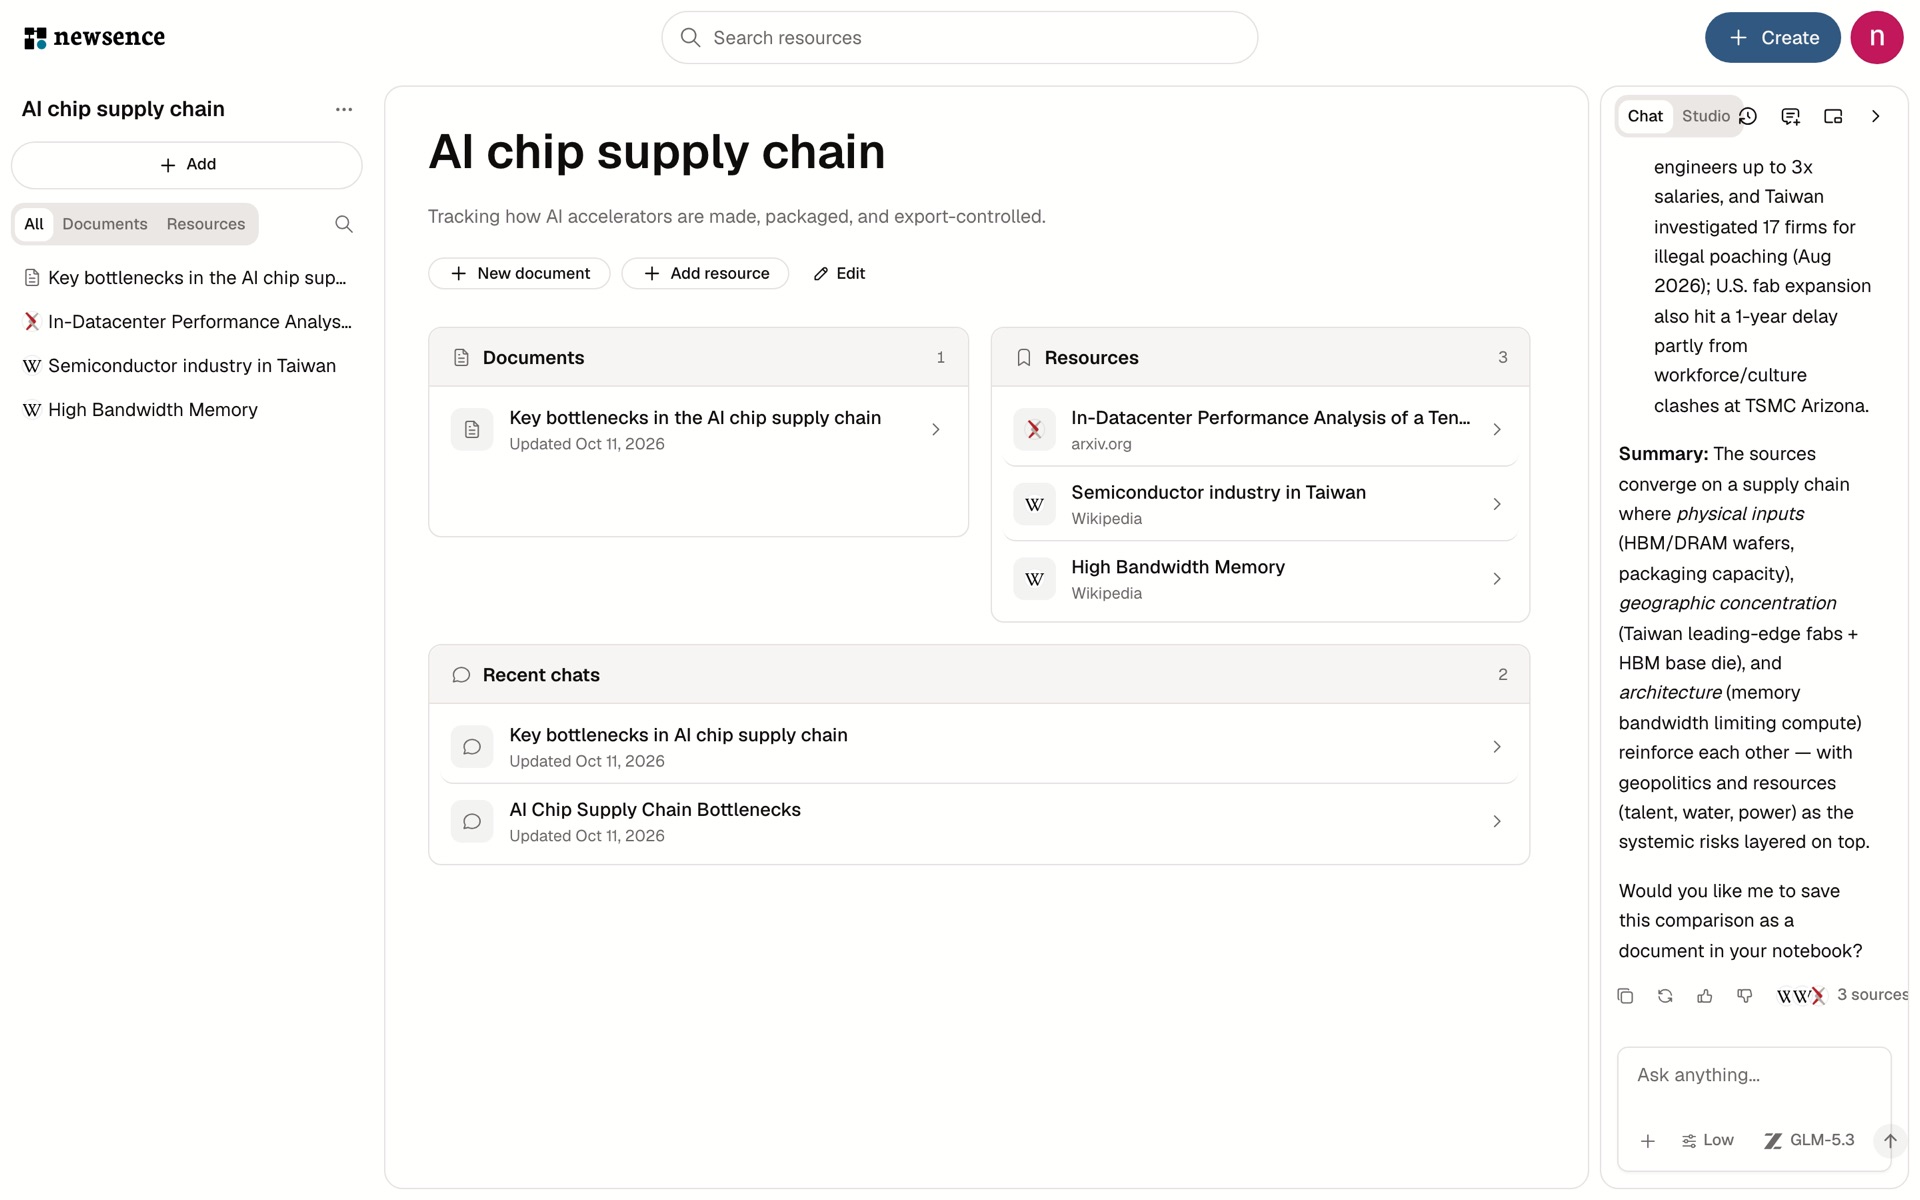
The AI rail sits on the right of the notebook. Choose Add context → Notebook resources, pick the sources for this question, and ask:
Summarize these sources: the core arguments, key data, and conclusions.Compare these sources. Where do they agree and disagree, and what evidence does each use?3 sources under the answer lists what the AI used, so you can check the originals.
5. Save it as a document
Ask the AI: "Turn this into a research document." The document is created in the notebook. Open it to edit it yourself or ask AI to revise specific sections. A version is saved before every AI edit, so you can always restore one.
6. Share it (optional)
Documents start visible only to you. To share one, set a username in Settings → Profile, then choose Share on the document and change Who can read to Anyone with the link or Public.
Next steps
- Save articles, papers, and videos: every way to add content
- Organize research with notebooks: how resources, documents, and AI work together
- Use the AI assistant: choosing context and models
Last updated on
Meet commonplot
commonplot brings reading, saving, AI research, and writing together. Learn how Notebooks, saved resources, and the AI assistant fit together.
Discover and read
Browse and search articles, papers, YouTube videos, X posts, and Hacker News threads in commonplot Discover, with bilingual reading, transcripts, and paper citations.